
Pedestal finished (almost)
Leave a comment5. December 2012 by Peter

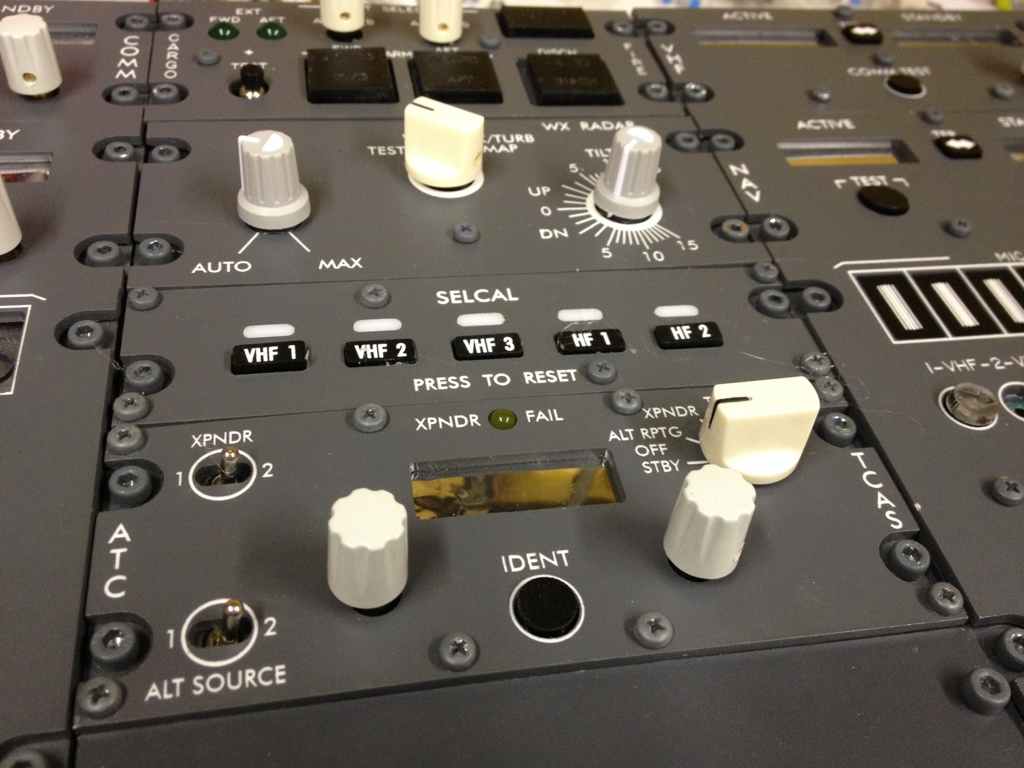
Close up of the transponder unit
I guess things actually never will be finished. But finally the pedestal is moving in to the final stages.
Many of the panels will remain dummy-panels for now, but they are all assembled on to the plate. Everything is backlit. Most wires are in place. The MDF-board for the box/casing is cut and waiting for a layer of paint, and then the pedestal is finished. 🙂
To begin with the active panels will be COM1, NAV1, NAV2, ADF1, XPNDR. The rest will be dummy-panels. All switches knobs and LEDs are installed, but the dummy-panels are not wired up.

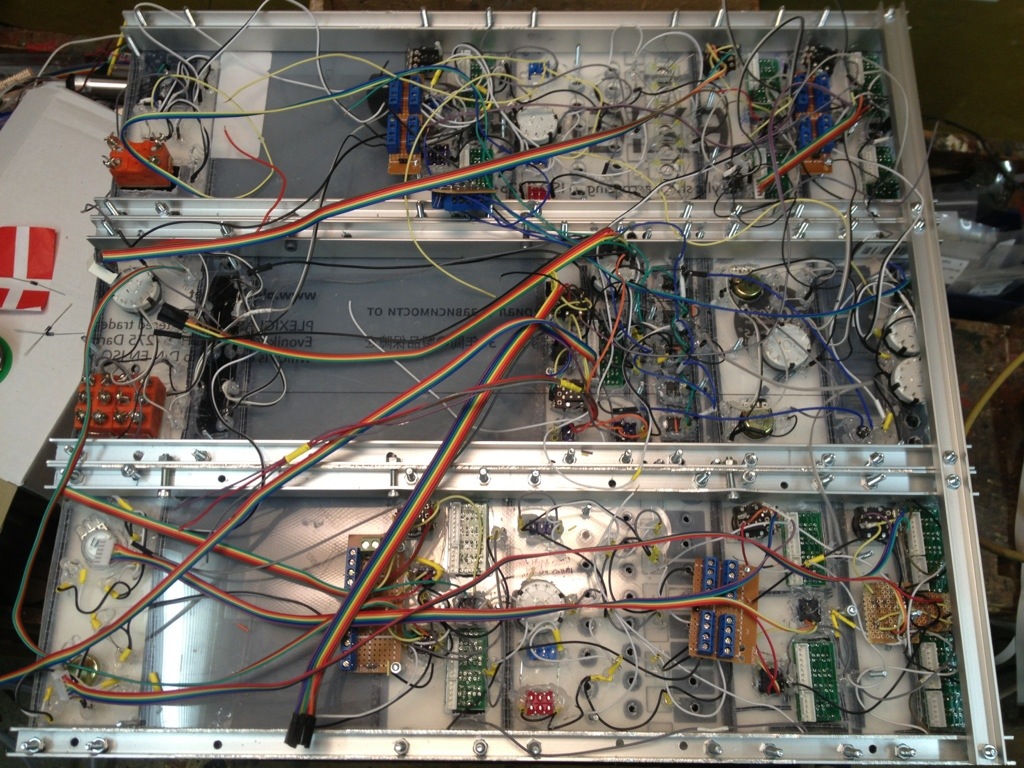
One big mess in wires. Mostly for the backlighting. The ribbon-wires add some order to chaos.
The backside of the panel is one big mess in wires. Most of the messy wires are backlighting (that is all the black and white wires) and test of annunciator LEDs (green + blue wires). The structured ones (The ribbon cables) are input from the active panels that most be connected to IO cards.
All panels are mounted on to a 45x45cm plexiglass-board and underneath the plexiglass the panels are fastened to a set of metal-rails. The rails is from my local warehouse and stood me in €5/meter. The rails keeps the structure firm, prevents it from bending and adds spacing below the plexiglass so no components gets bend or damaged. All panels are fastened with M4 screws with a hex-head, that I have spray painted with RAL 7011 and matt finish.

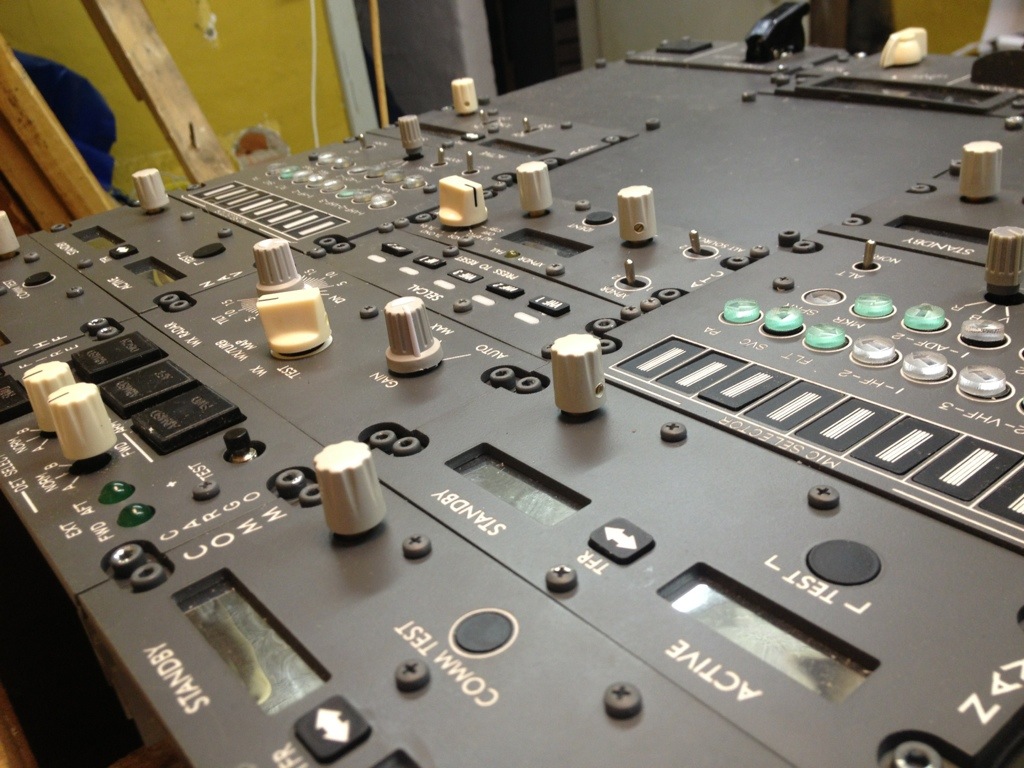
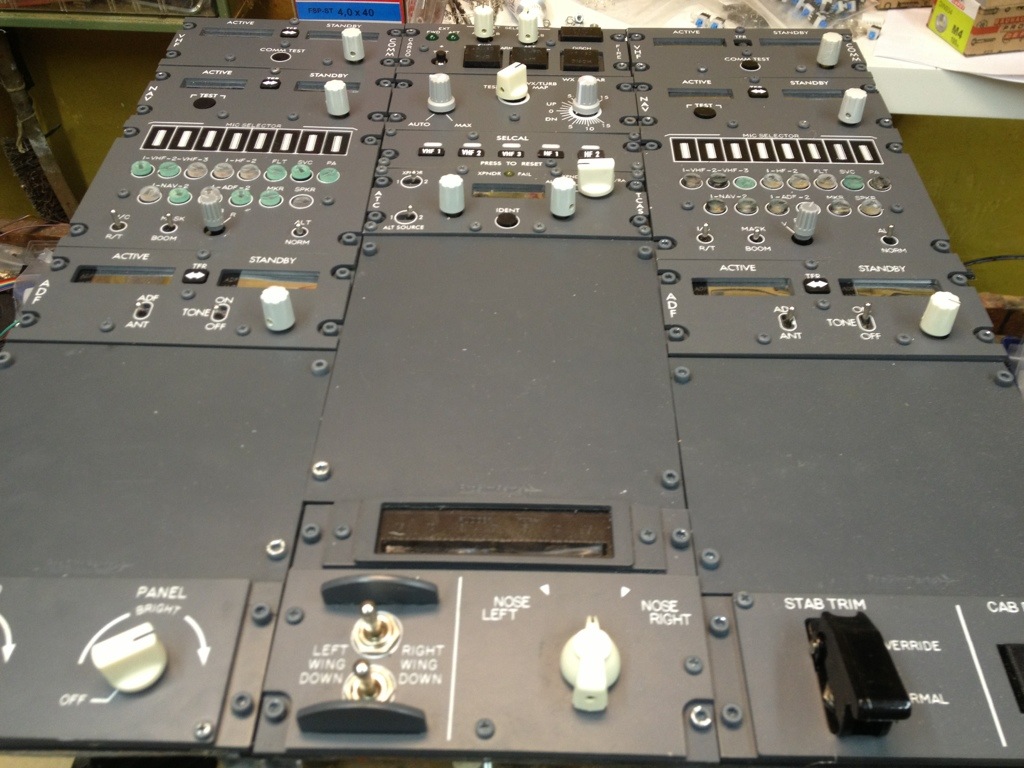
A view from above
I am pretty content with the overall result of the overhead. There are some not-as-real-as-it-gets solutions here and there. Especially the knobs are (as I might have mentioned before) $0.50 from Asia painted in RAL 7035 rather than €7 Boeing-style.
Only one of the two voice-panels is working, on the right one the 22 buttons are just glued in and no LEDs installed. For the left panel everything have been mounted on a PCB that I need to install. But everything is ready to be put in to place.
Apart from that what I need to do is to make the annunciators for the Cargo Fire panel with white and red lights and a push button. And then add wires to all (15) annunciators. Should be an easy task. And the the rudder-panel needs to be redone once I decide to make it active. Right now it is just a LED with no function.
So as the pedestal is in the final stage I must get some interface-cards. I am planning on OpenCockpit cards. Mostly because it sounds like that is what most people use. But I am unaware of advantages or disadvantages compared to other solutions – and unfortunately my knowledge to the other solutions is also quite limited. So I think I’ll just order a bunch of OC cards and take it from there. Which takes me back to the wiring of the switches. The IO card that I choose needs to correspond with the wiring i.e. OpenCockpits Mastercard have 9 inputs and one common GND in one group. So I need to wire up accordingly.
I hope to be able to upload some pictures of the pedestal mounted in the case/box with full backlighting with in the week. That would be a small victory for me. And by then time for a cold (well deserved) beer.
Happy landings!
-
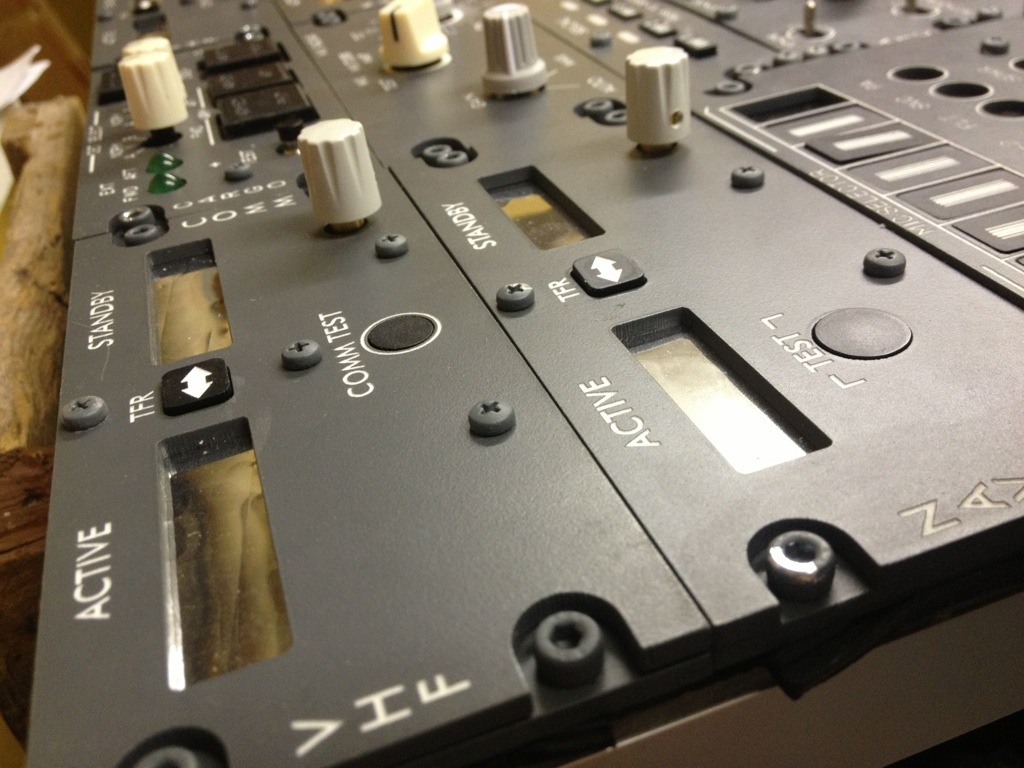
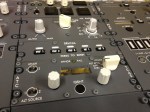
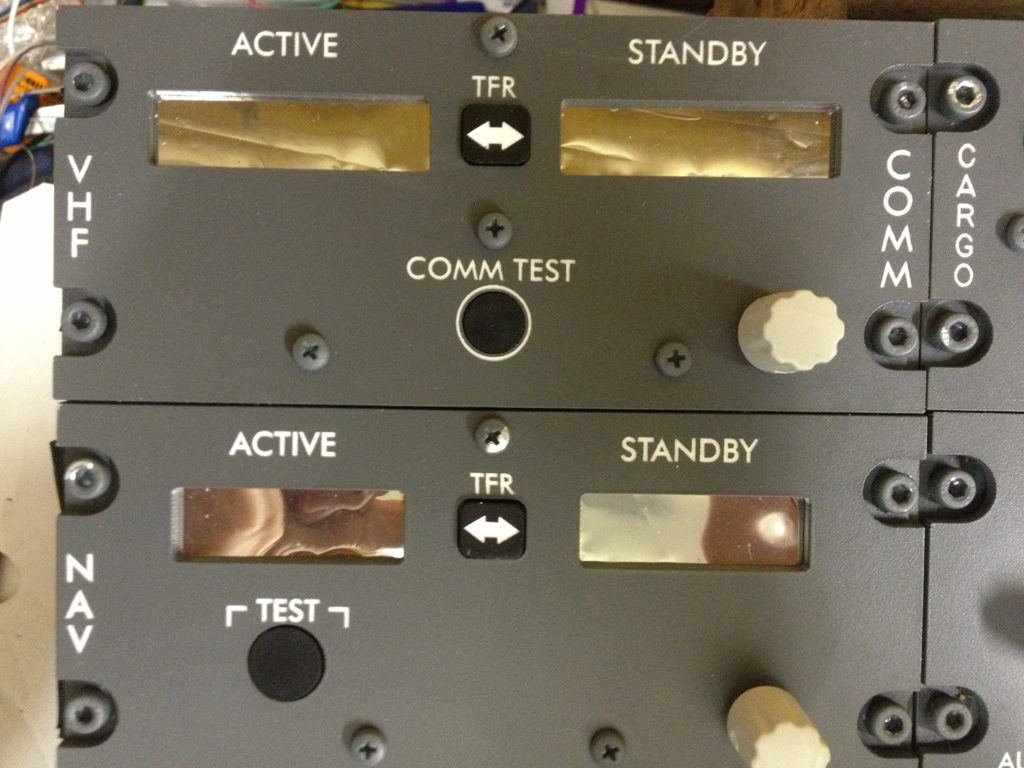
- Close up of the COM and NAV
-
- The cream-coloured knobs still needs painting.
-
- A view from above

-

- The complete pedestal
-

- One big mess in wires. Mostly for the backlighting.
-
- Transponder and SELCAL
-

- Reflective film to hide the 7-segment-units.
-
- A close up of the rudder.

-
- Gallery of the pedestal.

