
3D printed annunciations
23. September 2020 by Peter
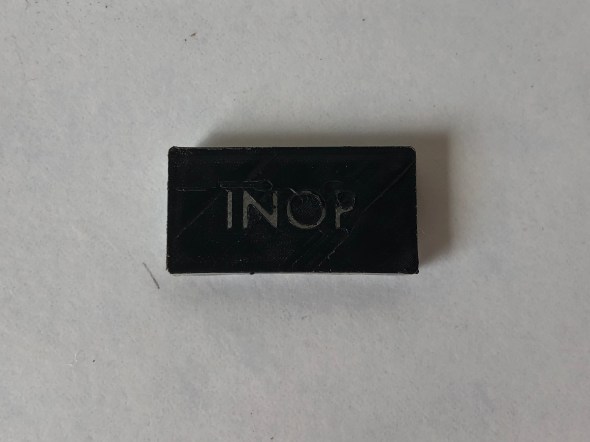
This is my first attempt at 3-D printing annunciations. It didn’t go all that well.
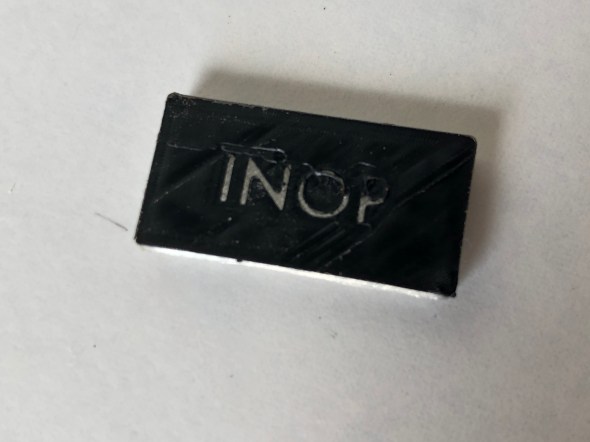
It has been printed using two different colours of filament – one transparent and one is black.
In my printing program (Cura) I’ve instructed the printer to stop at a certain level where I change the filament to the black colour.
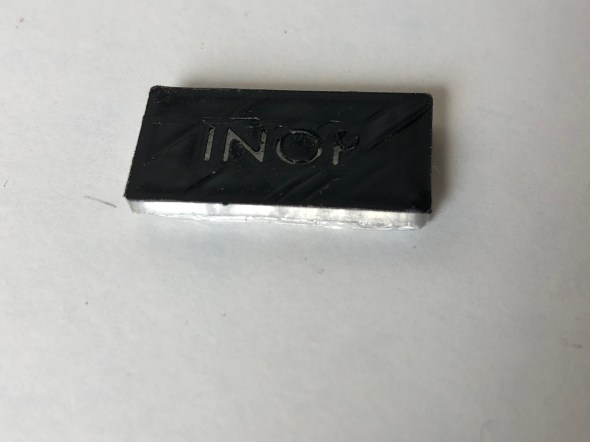
As you can see in the picture the lettering isn’t perfect.
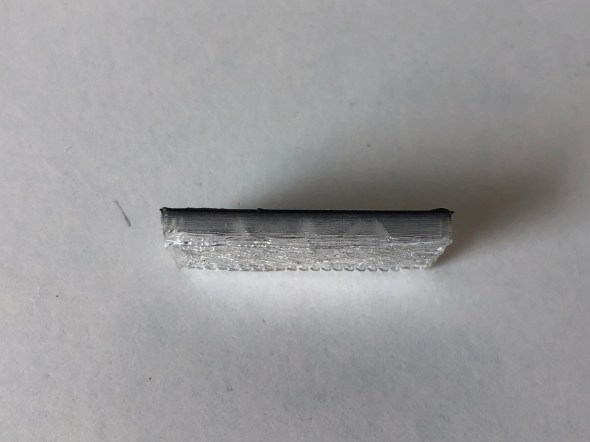
There is also the typical lines from 3d-prints.
The quality of the print is not fantastic. Perhap a bit of fine tuning of the printer would help a bit. But I’m not sure a home model 3D-printer will be able to produce a quality that can compare with a CNC.
I had 4 or 5 go’s at this print. I had various problems along the process. Especially the transparent PLA caused frustration. No matter how much adhesive I added it could not stick the first times.
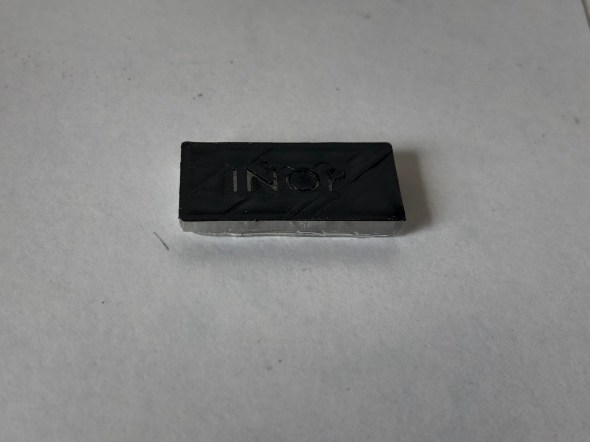
I’m however going to use this one. It is for the GPWS panel underneath the forest officers screens. I don’t any other laying around so this will have to do for now.
This post has been marked with “trial and error” and I guess I can say now that it has been both 🙂

I suggest you use your 3d printer and build a CNC that is as you say a much better way to make this things. https://www.instructables.com/DIY-3D-Printed-Dremel-CNC/ I am building one myself and it’s actually surprisingly good.
I had a lot of trouble with prints not sticking until I tried this. I use an initial Build Plate Temperature 80, Build Plate Temperature 67. Under Build Plate Adhesion I select Brim, Width 4.0, Line Count 22, Only Outside. I allow the print to run about an hour, then I pause and tape over the Brim right up to the model on all sides. Since I started doing this I haven’t had a single print break loose. I also tape over the whole bed and use UHU glue under the model before preheating the bed.