
Converting OEM audio panel
25. January 2021 by Peter
About a year ago I bought a bunch of different OEM panels – That is real panels from an aircraft.I’ve had them lying around for some time but now I finally decided to interface the audio selector panel (ASP).
There are three of these in the aircraft. Two in the pedestal and one in the AFT overhead. My plan is to use it with my intercom so that I can choose what radios I want to listen to and turn up and down the volume and even use one of the buttons as a push-to-talk button when flying on VATSIM.

The logic inside aviation avionics is different from what you have in your simulator. In the simulator you just need a simple on/off switch that sends a signal onto your computer. Whereas in aircraft panels there is logic happening inside the box. it’s not just on and off. So from my experience the wiring cannot be directly used in a simulator.
The inside of an OEM panel really is a beautiful piece of work. Everything is neat and wired. And of course everything is very sturdy. Ready to take the beating is it to live inside an aircraft. Something very different from the flimsy toggle switches we use in our simulators.
This panel had a large chunk of electronics and back and without powering that with 28 V this which is would not work properly. Furthermore the switches are wired with ground wire in different ways so the potentiometers were acting all strange. Once strip for all the wiring I could do my own wiring and the switches started acting as supposed to. As an example the potentiometers went from zero and around half way up as supposed to, but then the voltage would start dropping again. Once stripped for the wiring they worked as supposed to.
I have used a Pokies 57E card for interfacing. It is mounted inside the panel. The Pokeys card is good for a lot of inputs. But it limited room for outputs unless you install an additional LED extension cord. I really like the pokies 57E interface card because it is network based rather than USB based. That makes it more flexible and takes the load of the USB ports on the back of your computer. Only downside to this interface card is the limitation in LEDs but that can be solved with an extension card.
But there are no need for LEDs or indicators in this panel. The switches work in a simple yet genius way. When pushed in they are lit up from light emitting from the front plate. Very simple. The downside – for a simulator build – is that you are not able to see if the switch is actually activated in the Sim because I cannot get a read back from the computer.
I did one thing that many simmers will consider a deadly sin. I replaced the original aircraft bulbs used for backlightning with LEDs. I know. Many of you will not speak to me again. There was a few reason for the conversion. First the rest of the pedestal uses 12v LED and is dimmed with a LED dimmer. So for this to work I had to use 12v LEDs (3 LEDs on a string). Furthermore a few of the bulbs was blown / burned out. So they did not work anyway.
3d Print files
One of the top row buttons was missing. So I designed it in Fusion 3D and printed it in transparent PLA. It must be painted partly black in order to work with the lightplate.
Conclusion
To boil it down. Converting this OEM panel was actually just a matter of gutting the inside of the panel and replacing it with my own wires and then an interface card that can send the signal to the computer.
I will leave you with some pictures of the panel for you to enjoy. It is really a fantastic piece of craftsmanship.
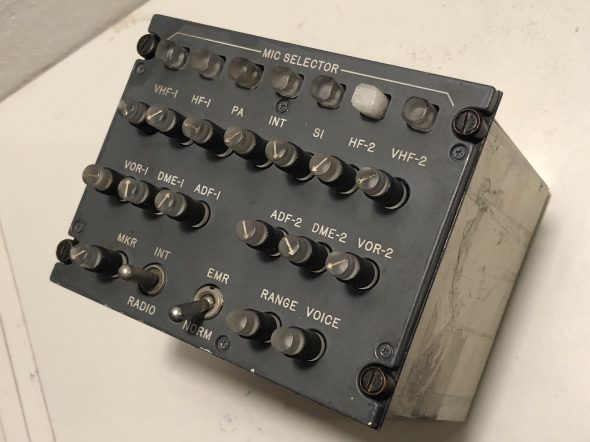
ASP 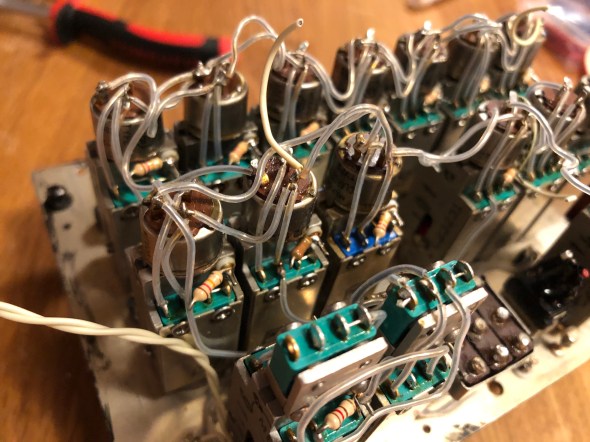
Closeup of pots and original wiring. 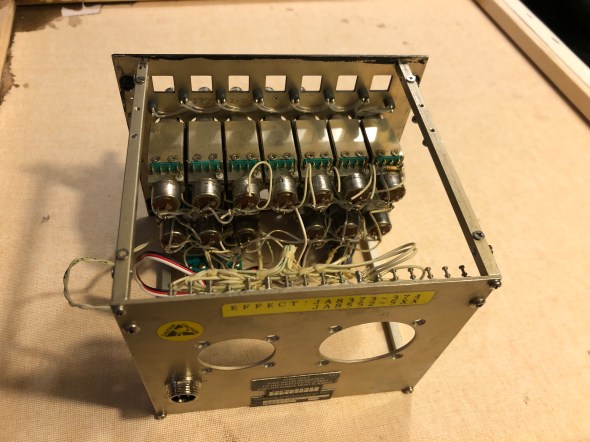
Potentiometers 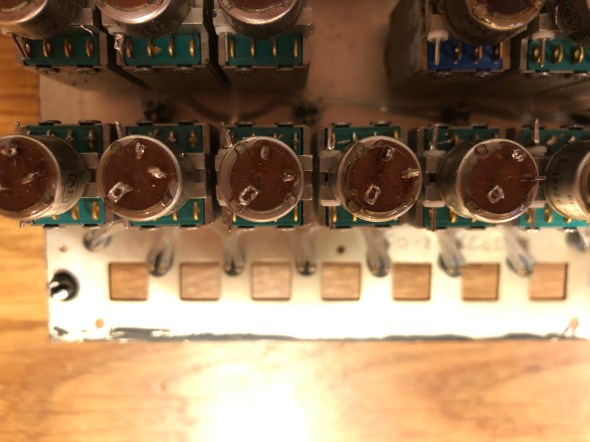
Close up of pots. 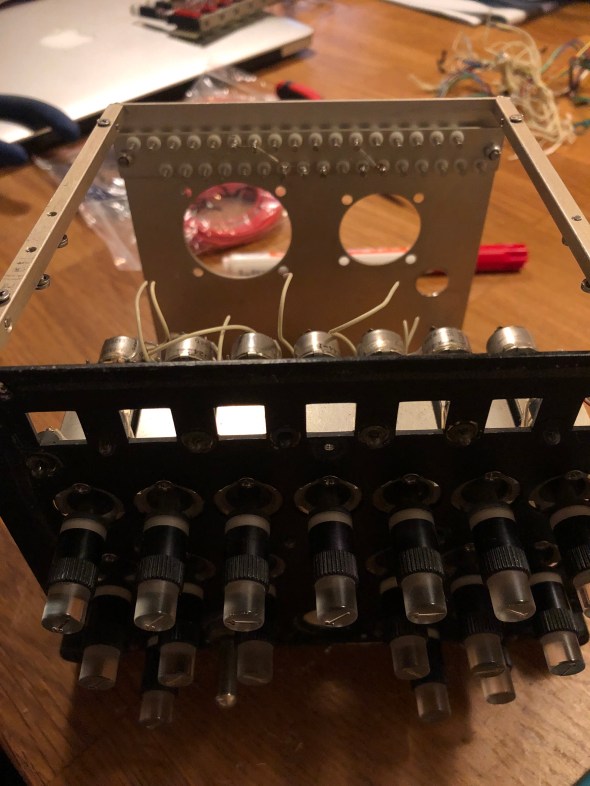
Gutted 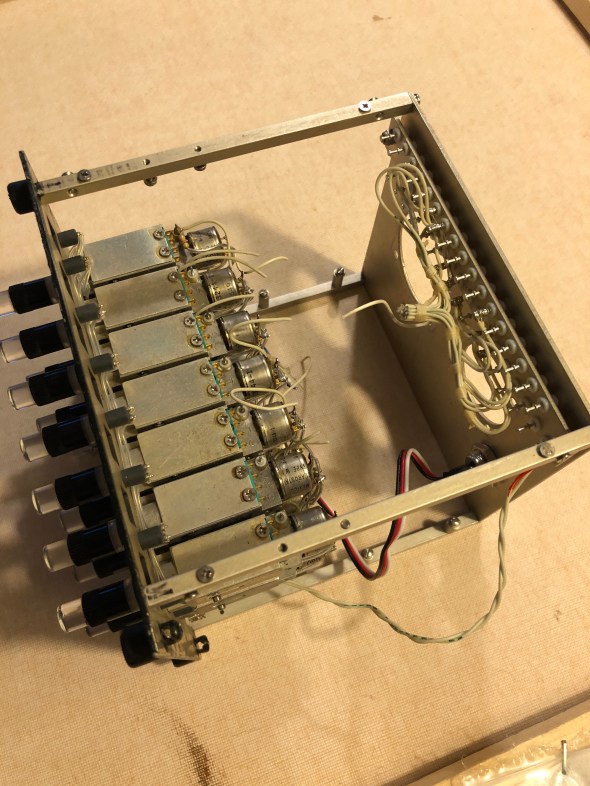
Note the distribution panel to the right 
Stripped of all the wiring. 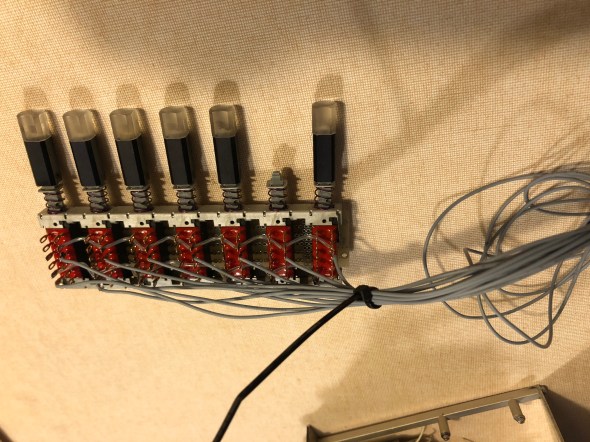
Top row switches with new wiring 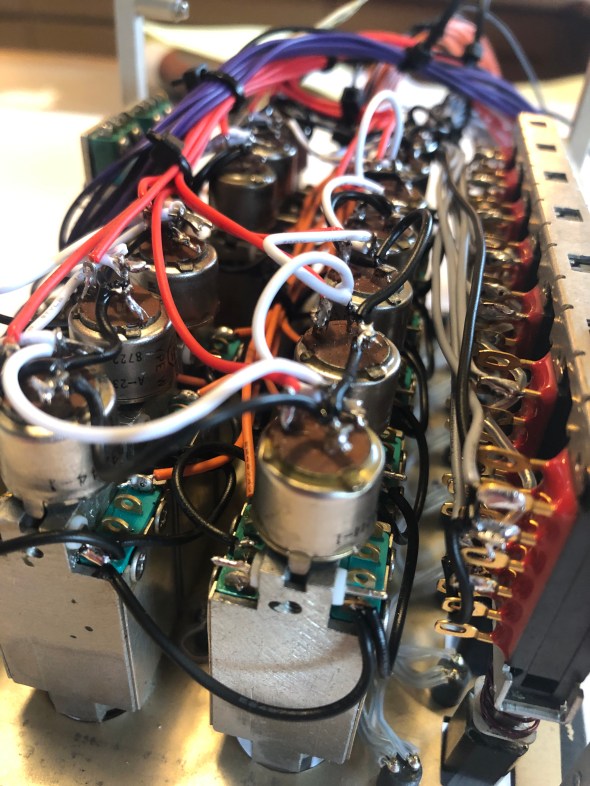
New wiring 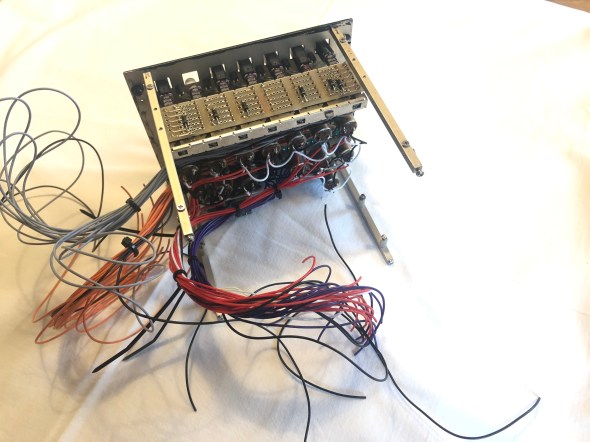
All taken apart. New wiring in place. 
A bundle of new wires 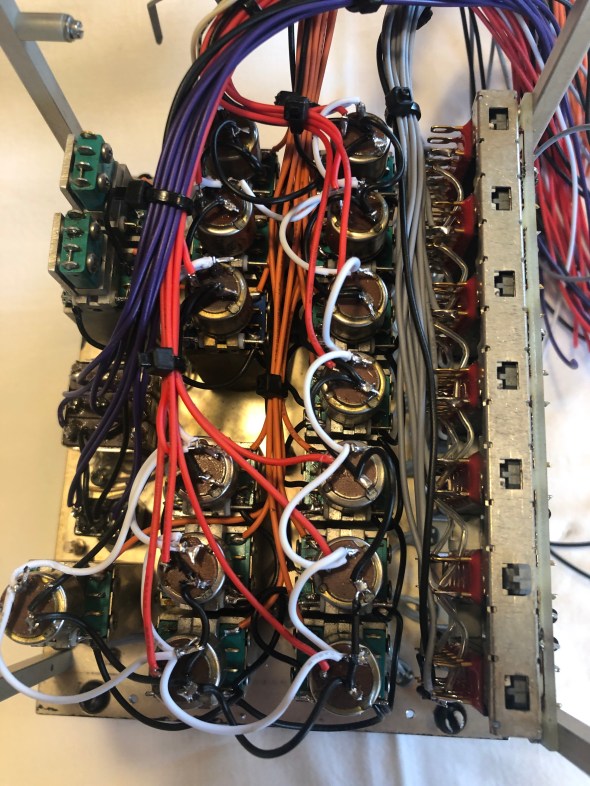
Nice. 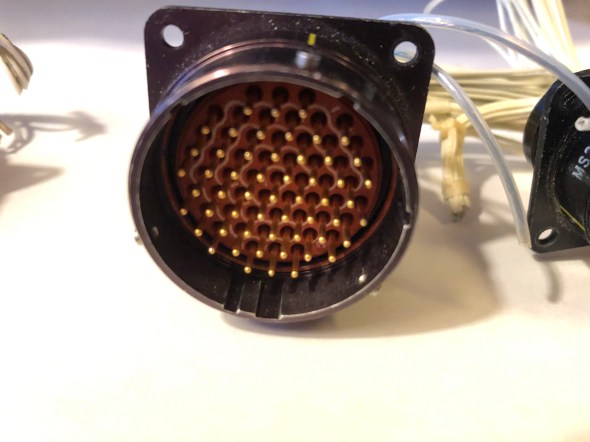
Cannon plugs had to go 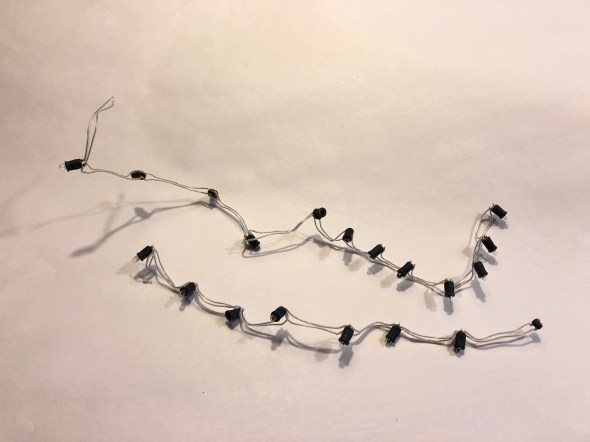
Original backlightning 
Original electronics 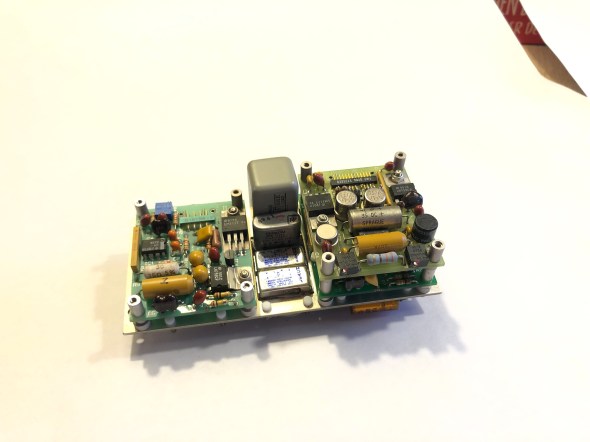
Original electronics 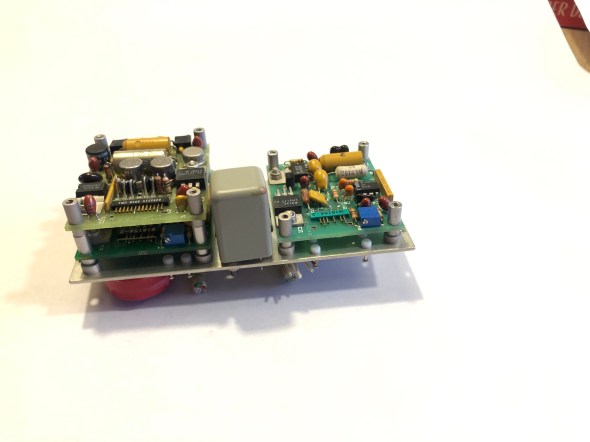
Original electronics

[…] kind of wiring that sends signals in different directions. I had this experience with both my Audio Selector Panel and the weather radar that the wiring inside these boxes are designed for aircraft and simulators. […]
[…] an previous post I mentioned converting an Audio Selector Panel (ASP) to the simulator. That got me hooked on converting the OEM Weather Radar panel and I also […]