
Mounting the overhead
128. May 2014 by Peter
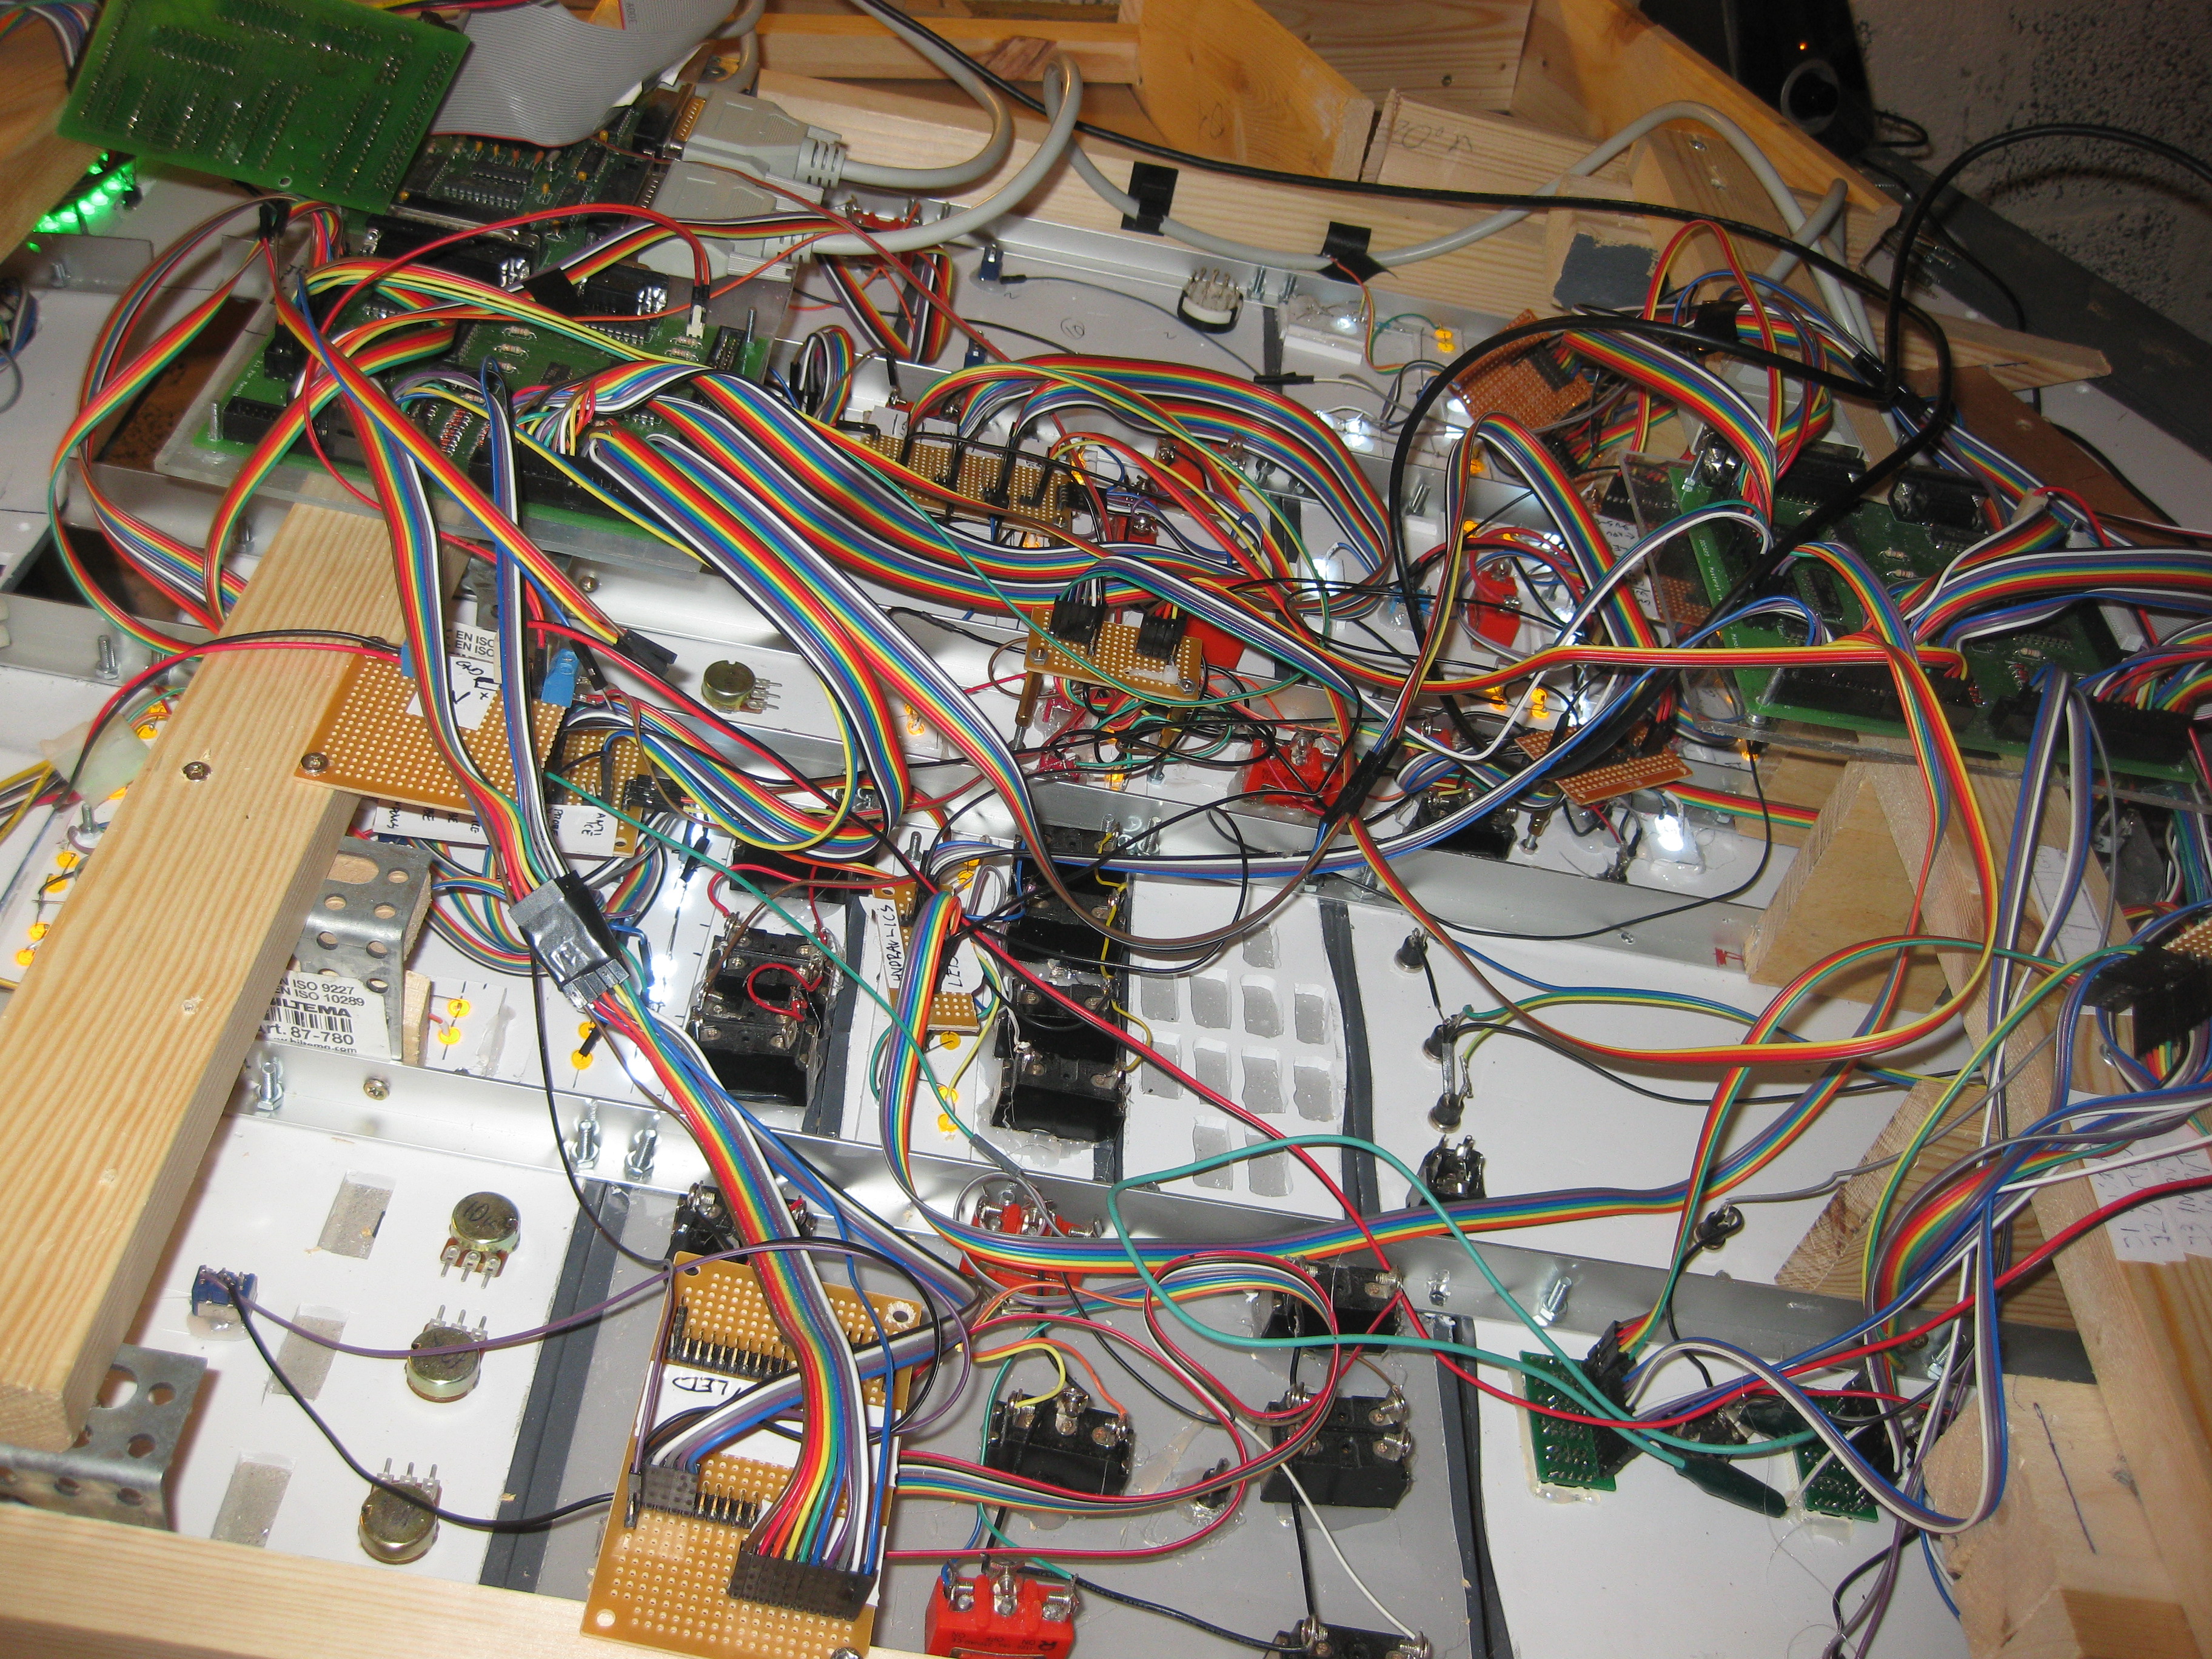
Backside of the overhead
I had a comment on another post about how to mount the panels. And so here are some pictures of my messy backside of the overhead.
I am always impressed with people that are able to keep it tidy behind the scenes. I just have to admit, that I am not one of them.
I started (as also seen on the video) with a wood-frame. But it just turned out to be waaaay too heavy.
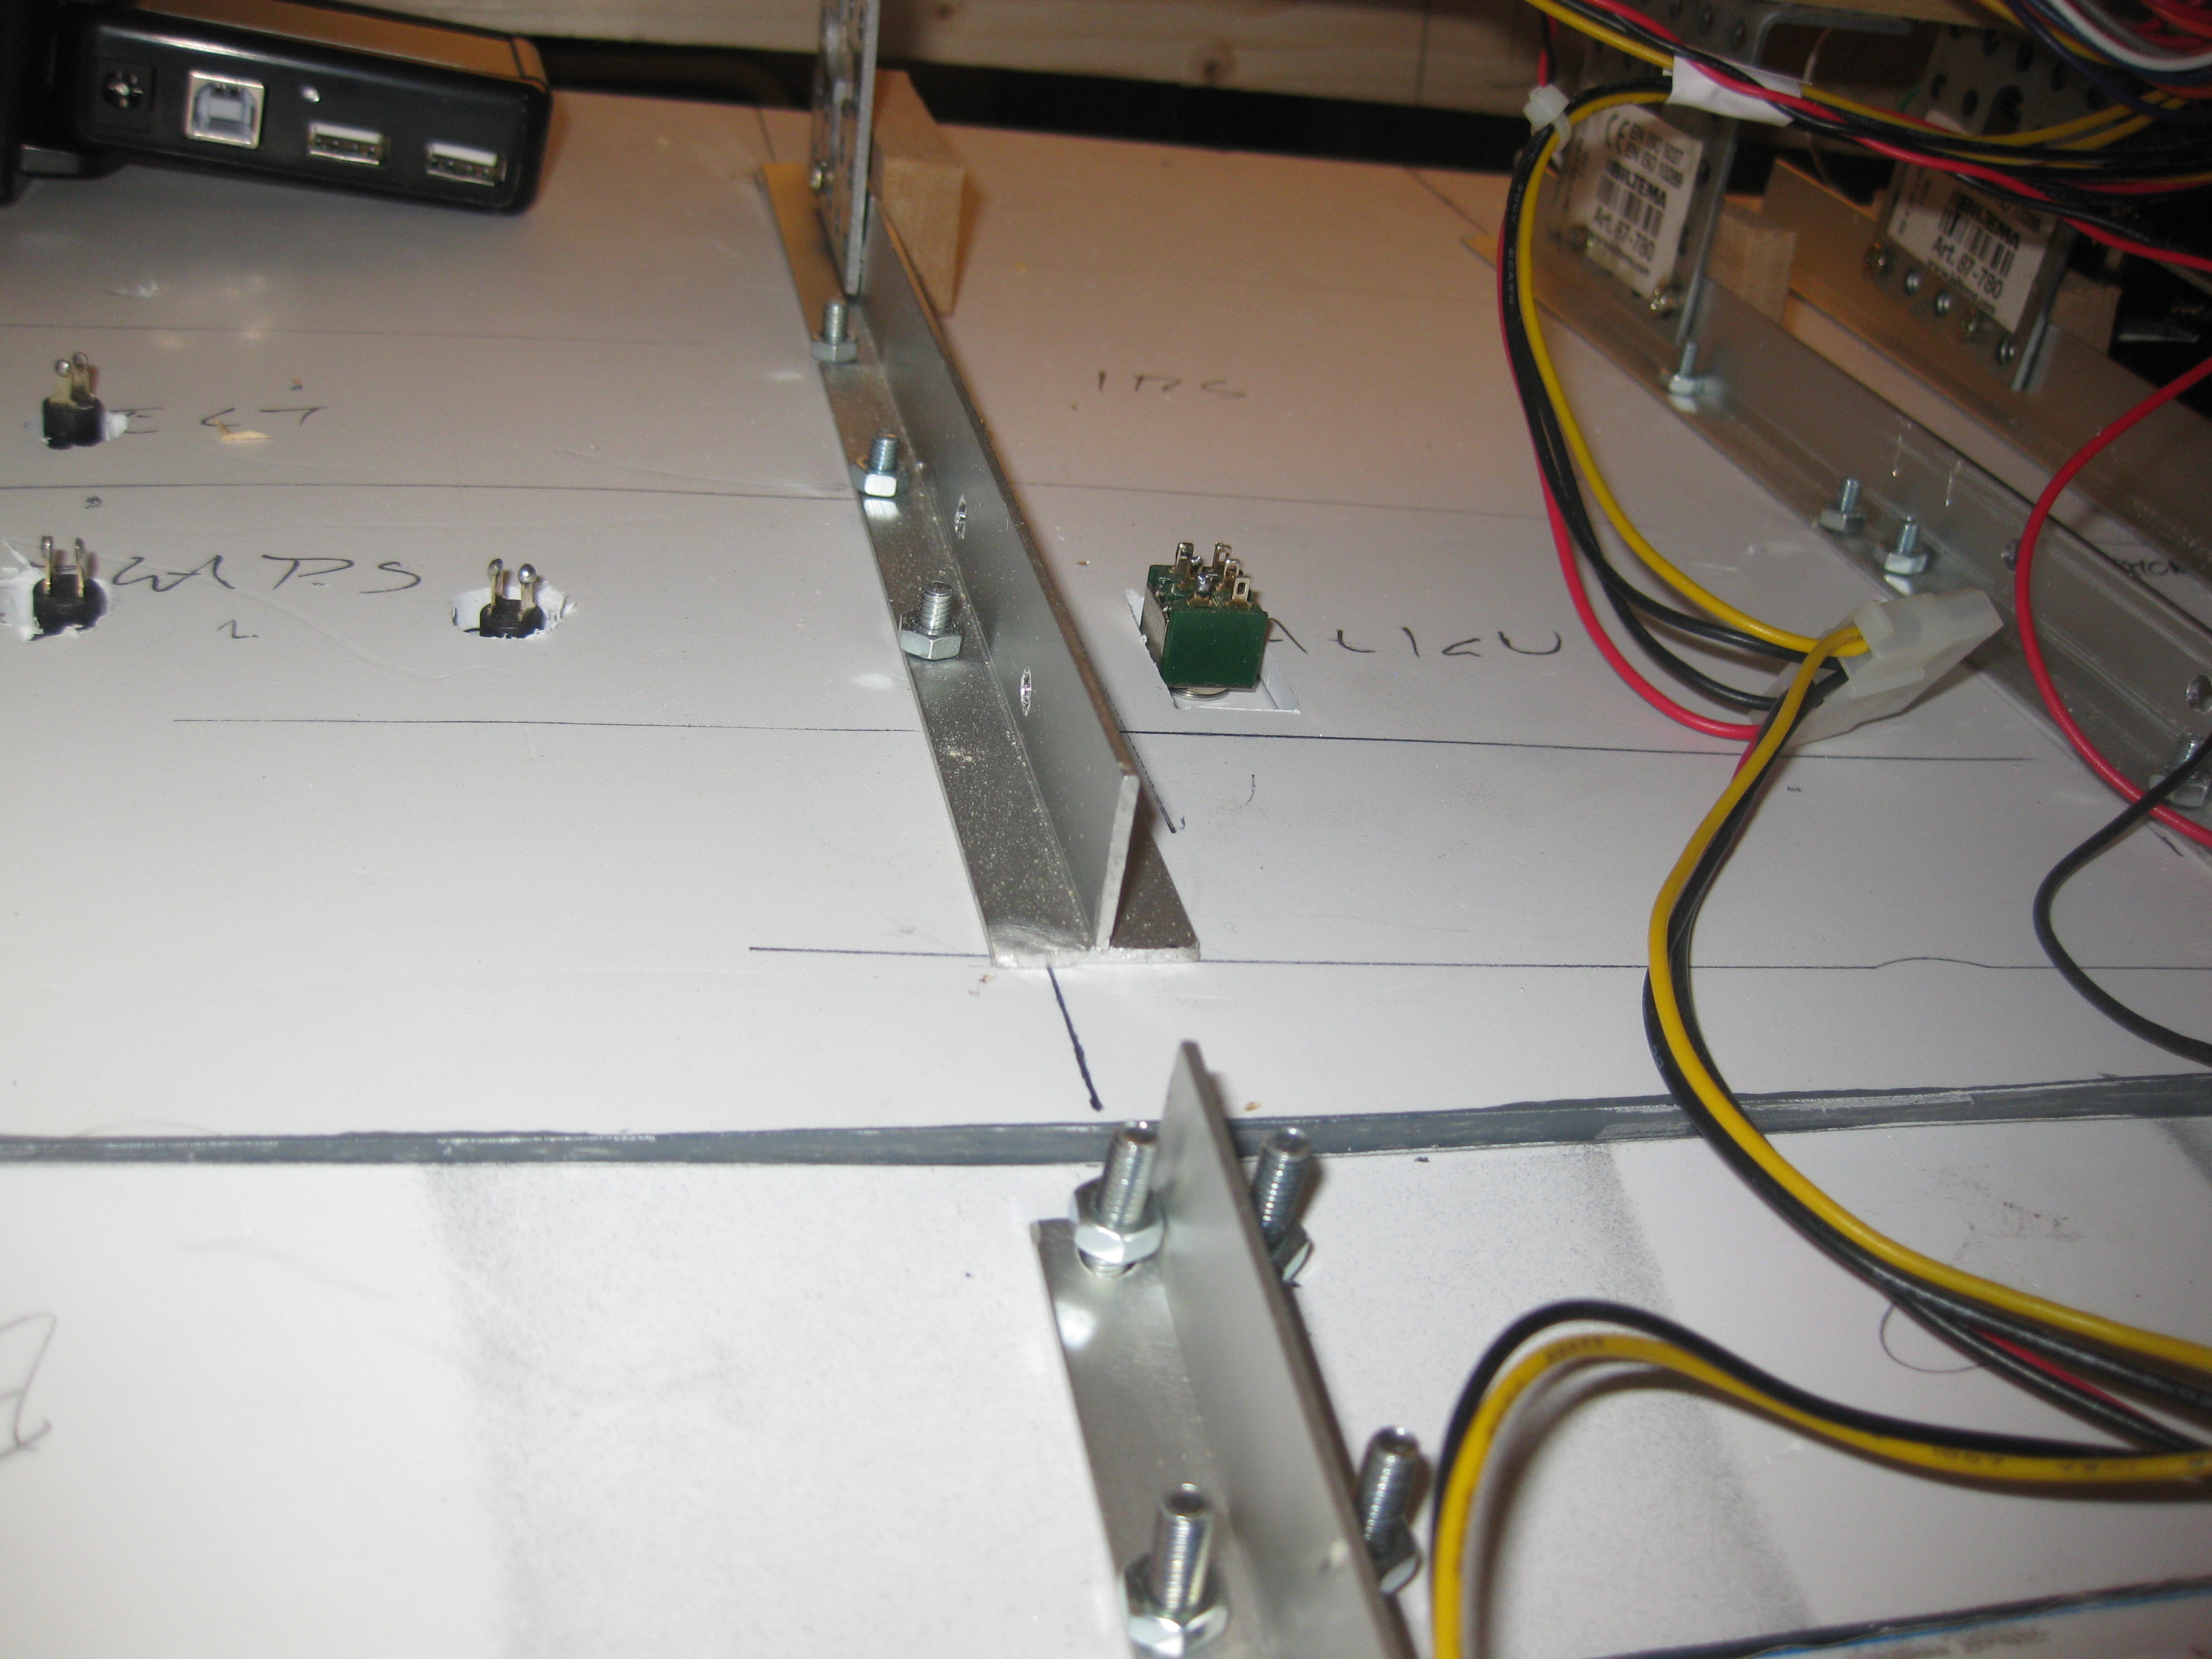 So I changed to T-shaped aluminium rails (and L-shaped at the edges). They are about €5 per meter at my local DIY-warehouse.
The panels are mounted in to the flat side of the “T”. The other part of the “T” is for stability. So don’t use a flat rail.
The overhead is then mounted on to two bars that run across the overhead.
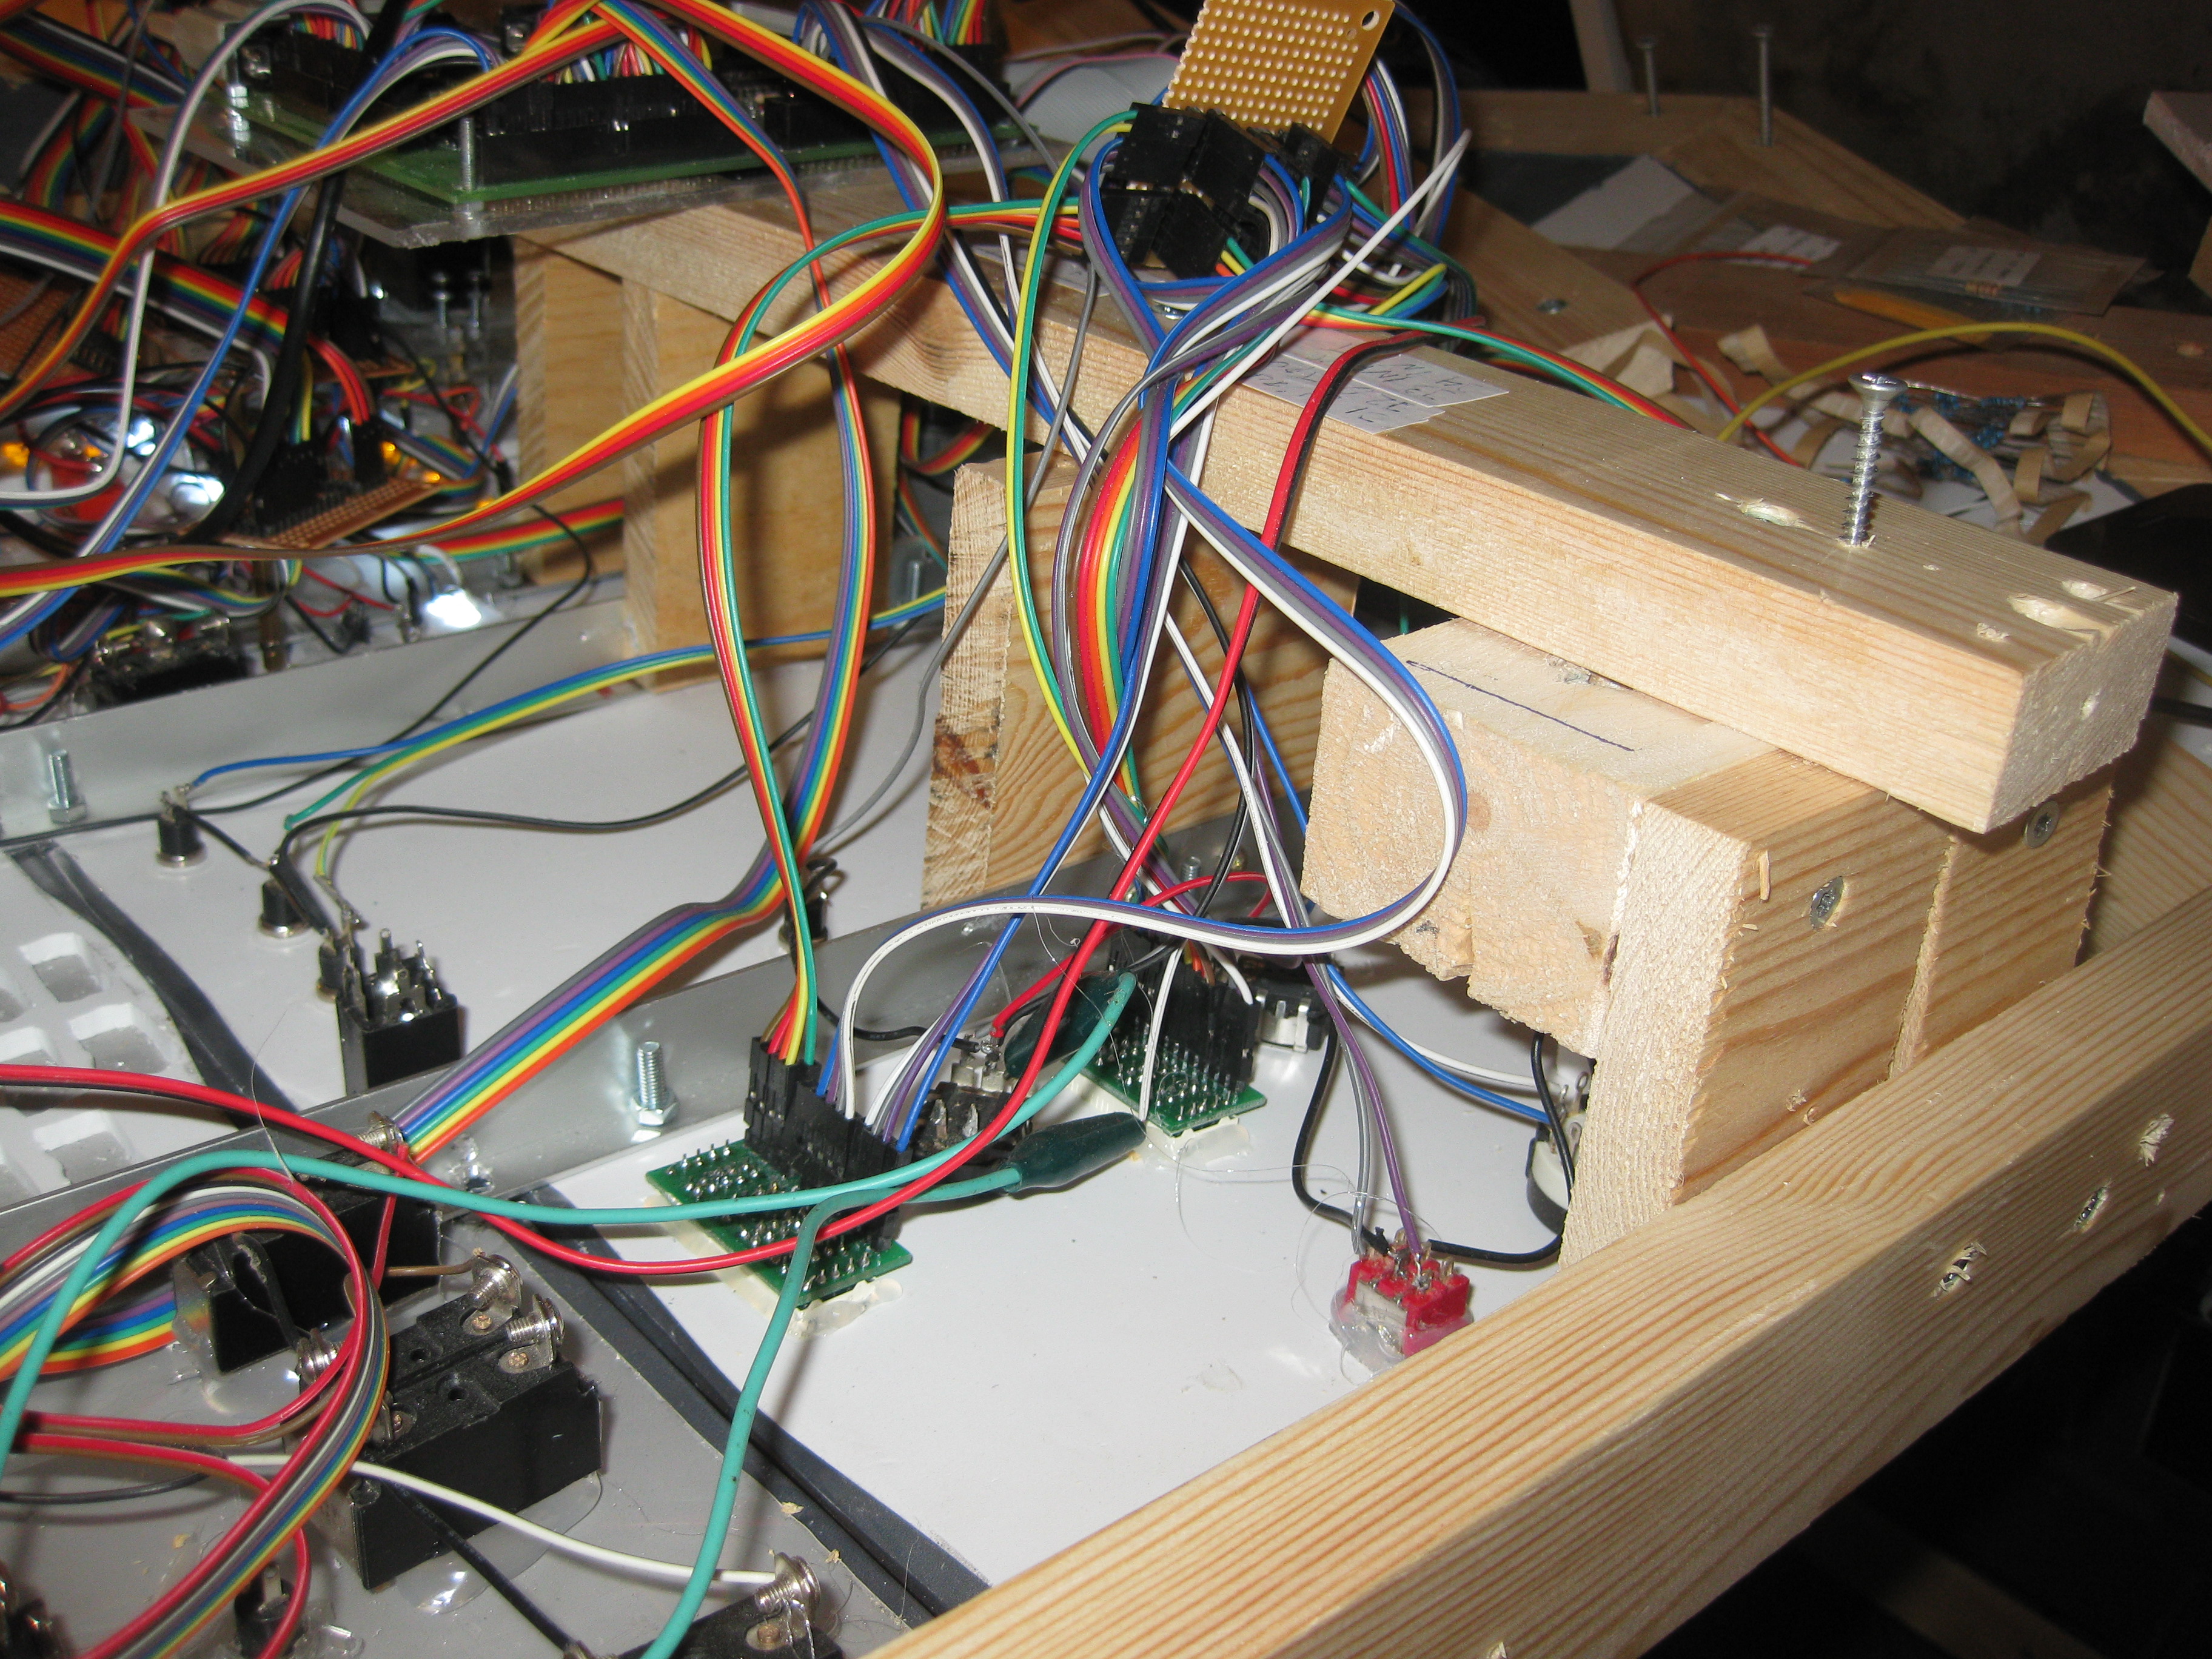 It can be a bit difficult to see on the picture. But I have mounted some L-shaped brackets on to the T-rails that then holds on the the crossing wooden bars. This adds stability to the overhead.
Along the sides of the overhead panel I have also mounted a wooden bar that is connected to the forward window frame and the back-wall of the cockpit. Using simple screws the overhead is mounted in to this frame as well to keep it in place.
I hope this can help as inspiration for some of you.
In short:
- Mount the panels on to T/L-shaped rails
- Add something that runs across to add stability
- Build an outside frame to keep the overhead in place.
- Fasten the “across bars” on to the cockpit as well to relieve weight

There’s nothing worse than a messy backside. You really should consider cleaning it up a little 😉