
FMC part 1 – First steps
22. February 2014 by Peter
 So my FMC kit arrived from Spain/OpenCockpits two days ago and I have started building it now.
I most say quality is quite good looking. I really like the surface of OpenCockpits parts. I also considered the Hispapanels FMC. But ended up paying that extra for OpenCockpits. More os that later in this posting.
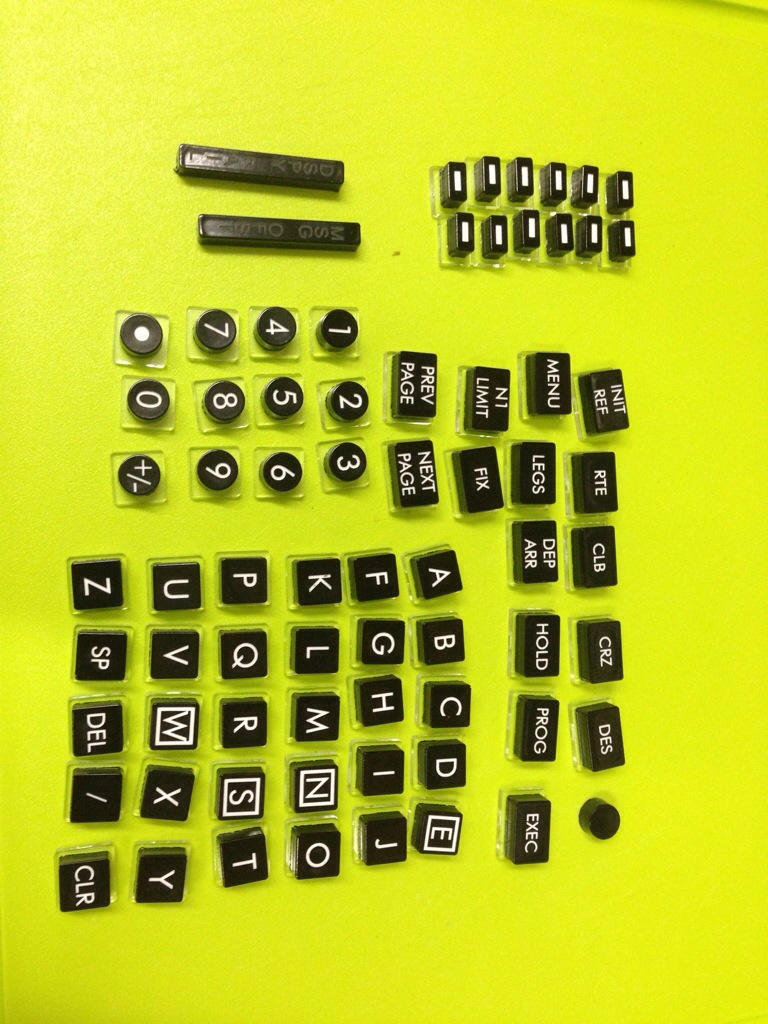
Step one was gluing ale buttons together. Done today. Then to morrow I will paint the base og each button black to prevent the backlight shining through.
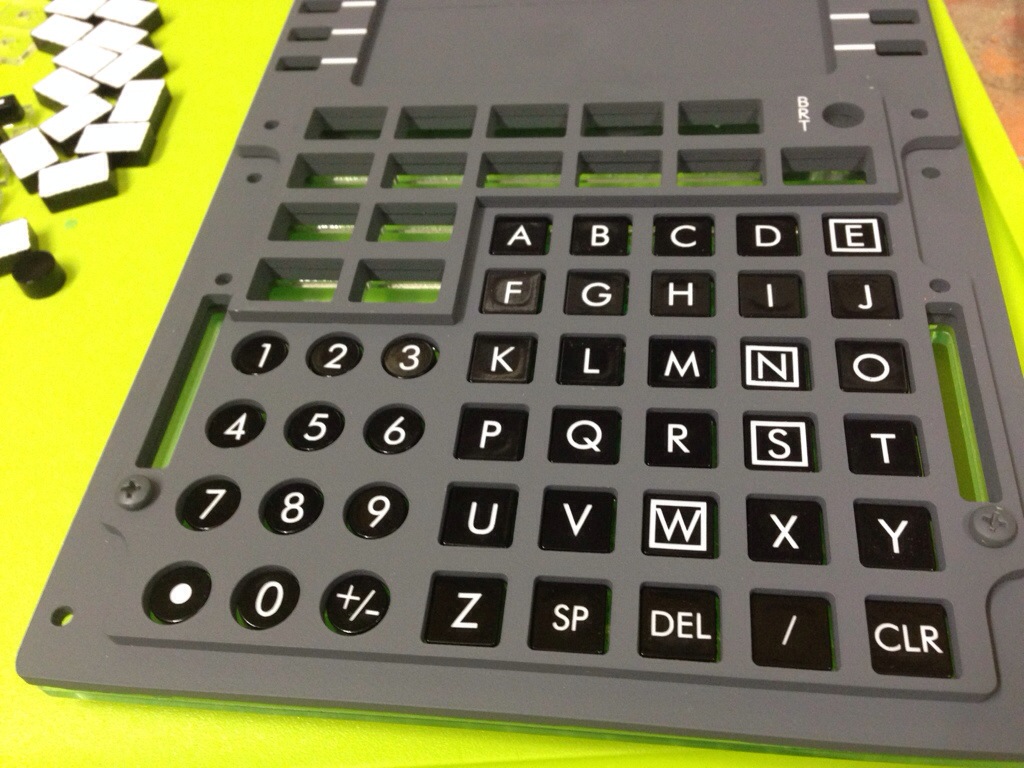 The first try in the FMC-frame looks quite nice. The buttons are put in the FMC frame in the picture to the right. However not assembled yet, there are no switches behind the buttons, therefore they are sitting a bit low. Once the switches are on place they will be at a reasonable height.
I will need to make an extra piece of plexiglass for the buttons in the two top rows (The menu buttons). As you can see on the picture this part of the frame is higher but the buttons is the same height. This means that these 15 buttons will be lowered in to the frame unless I make a spacer. More on this in part two (And some pictures to explain).
I bought a PsOne screen from USA before Christmas. I have not had time to test it yet. Hopefully it works. Is should…
As mentioned I also consider going with the Hispapanels FMC.
The buttons on Hispapanels model are made from transparent acrylic whereas the OpenCockpits is white. It is the same on my EFIS unit and when it not is backlit it is quite hard reading the lettering. So I wrote Manolo from Hispapanels and asked if it would be possible to make the buttons from white acrylic. That should be possible, but only on request so the delivery time would be extended quite a bit. Furthermore I must admit that the quality if the engravement on my Hispapanels not is all that good, the color is a bit off and the surface is just better looking on Open Cockpits. As I anyway needed the OpenCockpits USB-keyboard card shipping was covered and then the difference in price was not that big. Mind you Hispapanels has quite high shipping costs + PayPal fees (+4% to Hispanels and then Paypal charges additional 4% in currency conversion) So the Open Cockpits ended up only about €30-40 more expensive.

Can’t wait to see the result! I’m also thinking of building it… Did you bought the pcb and mounting kit?
Hi Samuel.
Thought about it. But didn’t go with it to keep the cost down.
Lets see how it goes and if I end up regretting… 🙂
/Peter