
MIP building
Leave a comment19. January 2013 by Peter
The work on the MIP is well underway.
My fellow Danish pit-builder Claus (737sim.dk) advised me to use “Foamalux” instead of MDF. That was a very good advice!!! By the way pay Claus’ site a visit, it contains loads of cowboy-tricks!
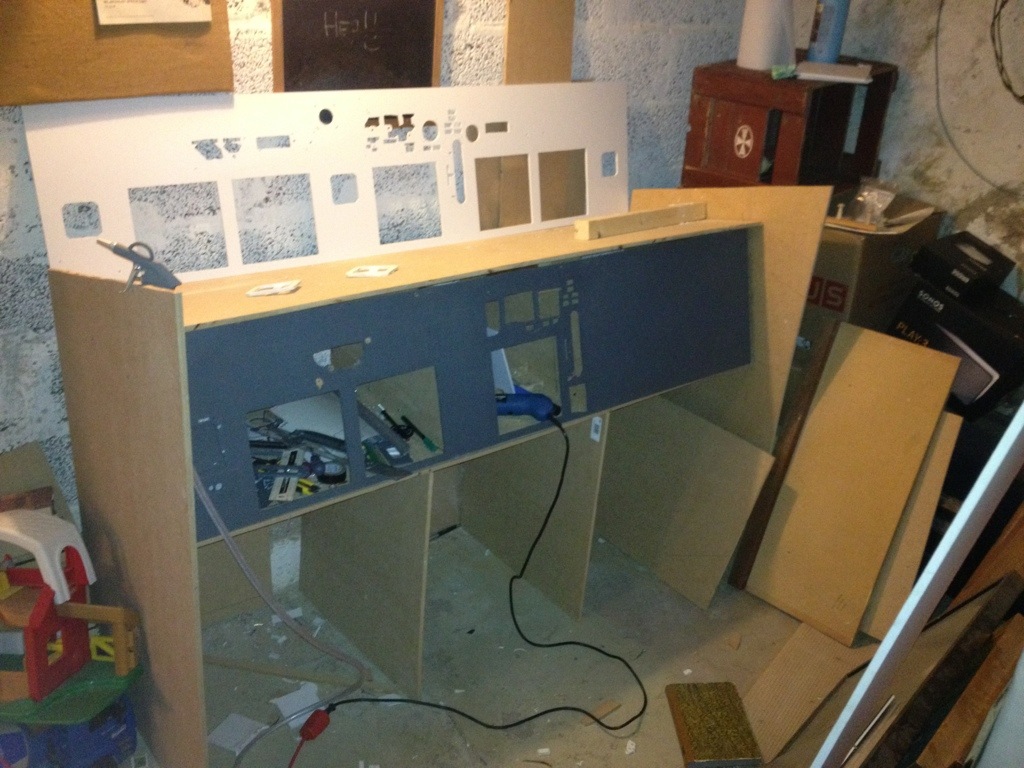
Old MIP of MDF and the new Foamalux ready to be painted.
Foamalux is so easy to work with. It is not messy when you are making holes, and it can be cut with a sharp knife. No more jigsaw and sawdust! You just using a knife. So making the holes in the MIP-plate only took an evening!
The picture to the right shows the old MIP-plate made of MDF and the new MIP with all the correct holes ready for a layer of paint. I have used 5mm Foamalux (Well actually I bought a 10mm to begin with, but that was to thick, so I had to throw it away – Trail’n’error you know…)
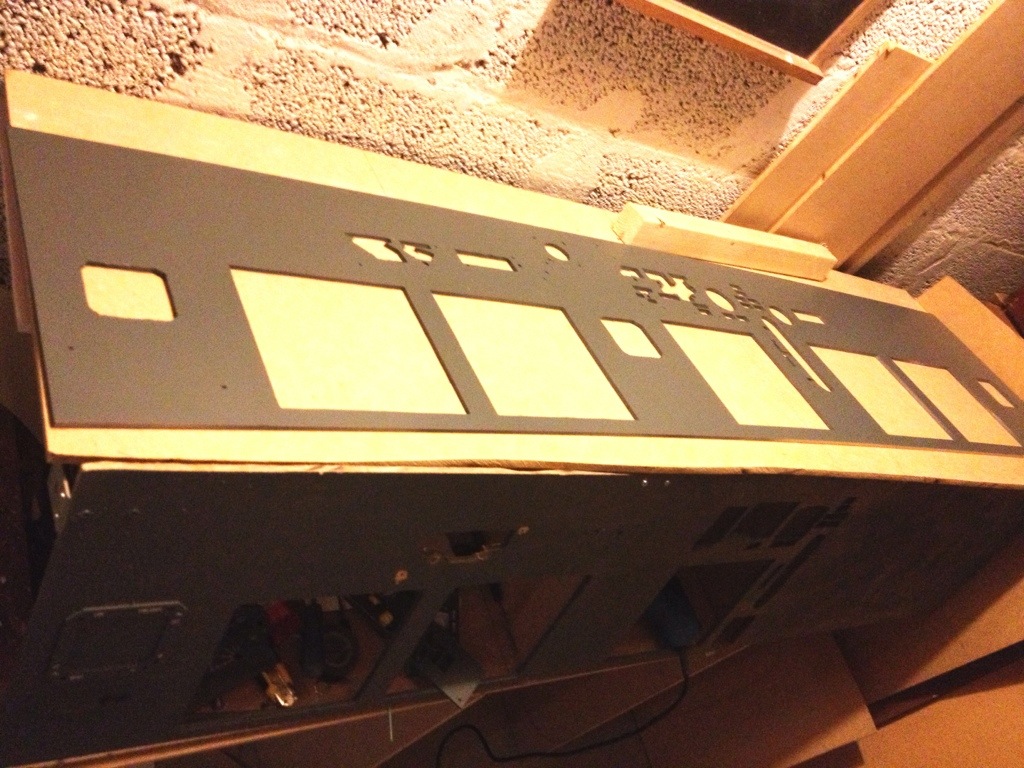
MIP painted in RAL7011
I picked up the Foamalux at our local DIY-marked in Denmark called Bauhaus. They even cut it in exact the measure you need, and so you only pay the the size you take out of the shop. That 5mm Foamalux cut at 36×152 cm costed me DKK100, which equals around €15/$20.
A quick paint with RAL7011 (Also picked up at Bauhaus) and left to dry for some days.
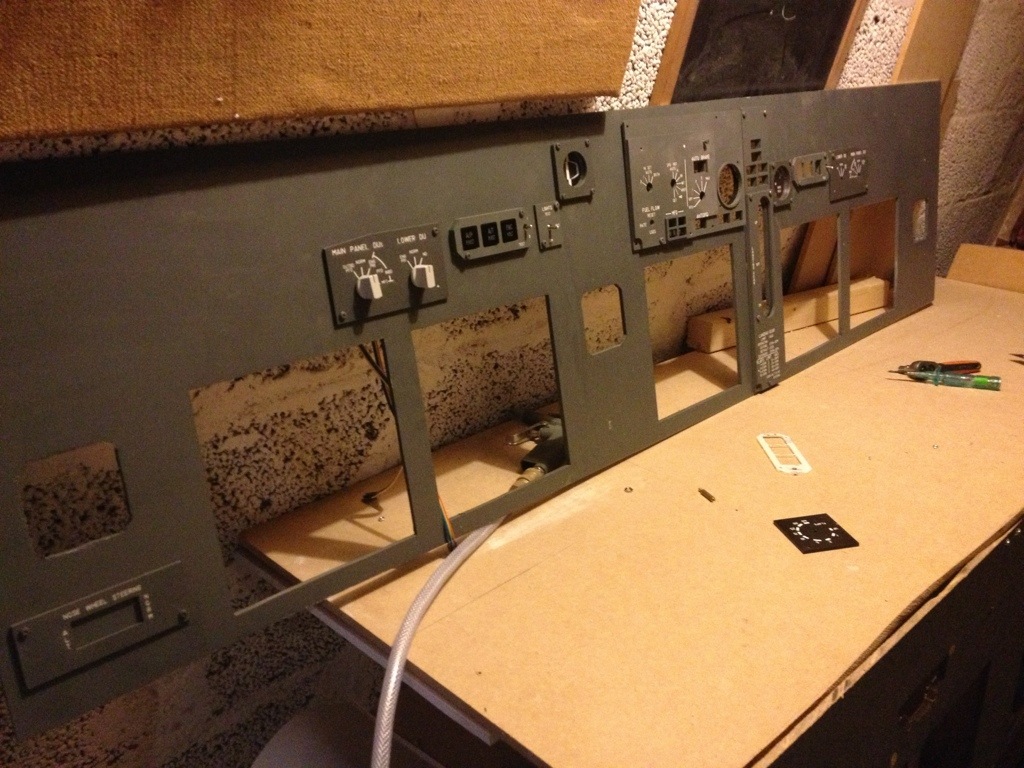
MIP with panels
And shortly after I could start installing the panels.
For the stand-by instruments (the two in the middle) I have cut extra frames from the foamalux using the same measures as the frame from the clock.
The plate also gives depth to the gauges. It actually looks quite good.
As you might be able to see the DU-panel is a bit darker than the other panels. That is because it is from Hispapanels where as the rest is OpenCockpits. There is a difference i quality. More on that later.
