Panel for OEM fire handles
Leave a comment3. December 2024 by Peter
I have bought 3 OEM firehandles. They are very cool. But building everything around them turned out to be a bit of a challenge because I do not have the original enclosure and panel.
OEM vs thin acrylic
So pulling these handles up and twisting them requires quite some force. So your typic thin acrylic panel that we normally use for panel building would without a doubt crack in a second. So I had to figure out a way to relieve the panel. At the bottom of the fire handles there is a bayonet mount for the 31-pin Cannon plug. Using Fusion360 I designed a bracket for the bayonet mount that I could install on a wooden base. That way – hopefully – the handles would be held in place when pulling them up.
Faceplate
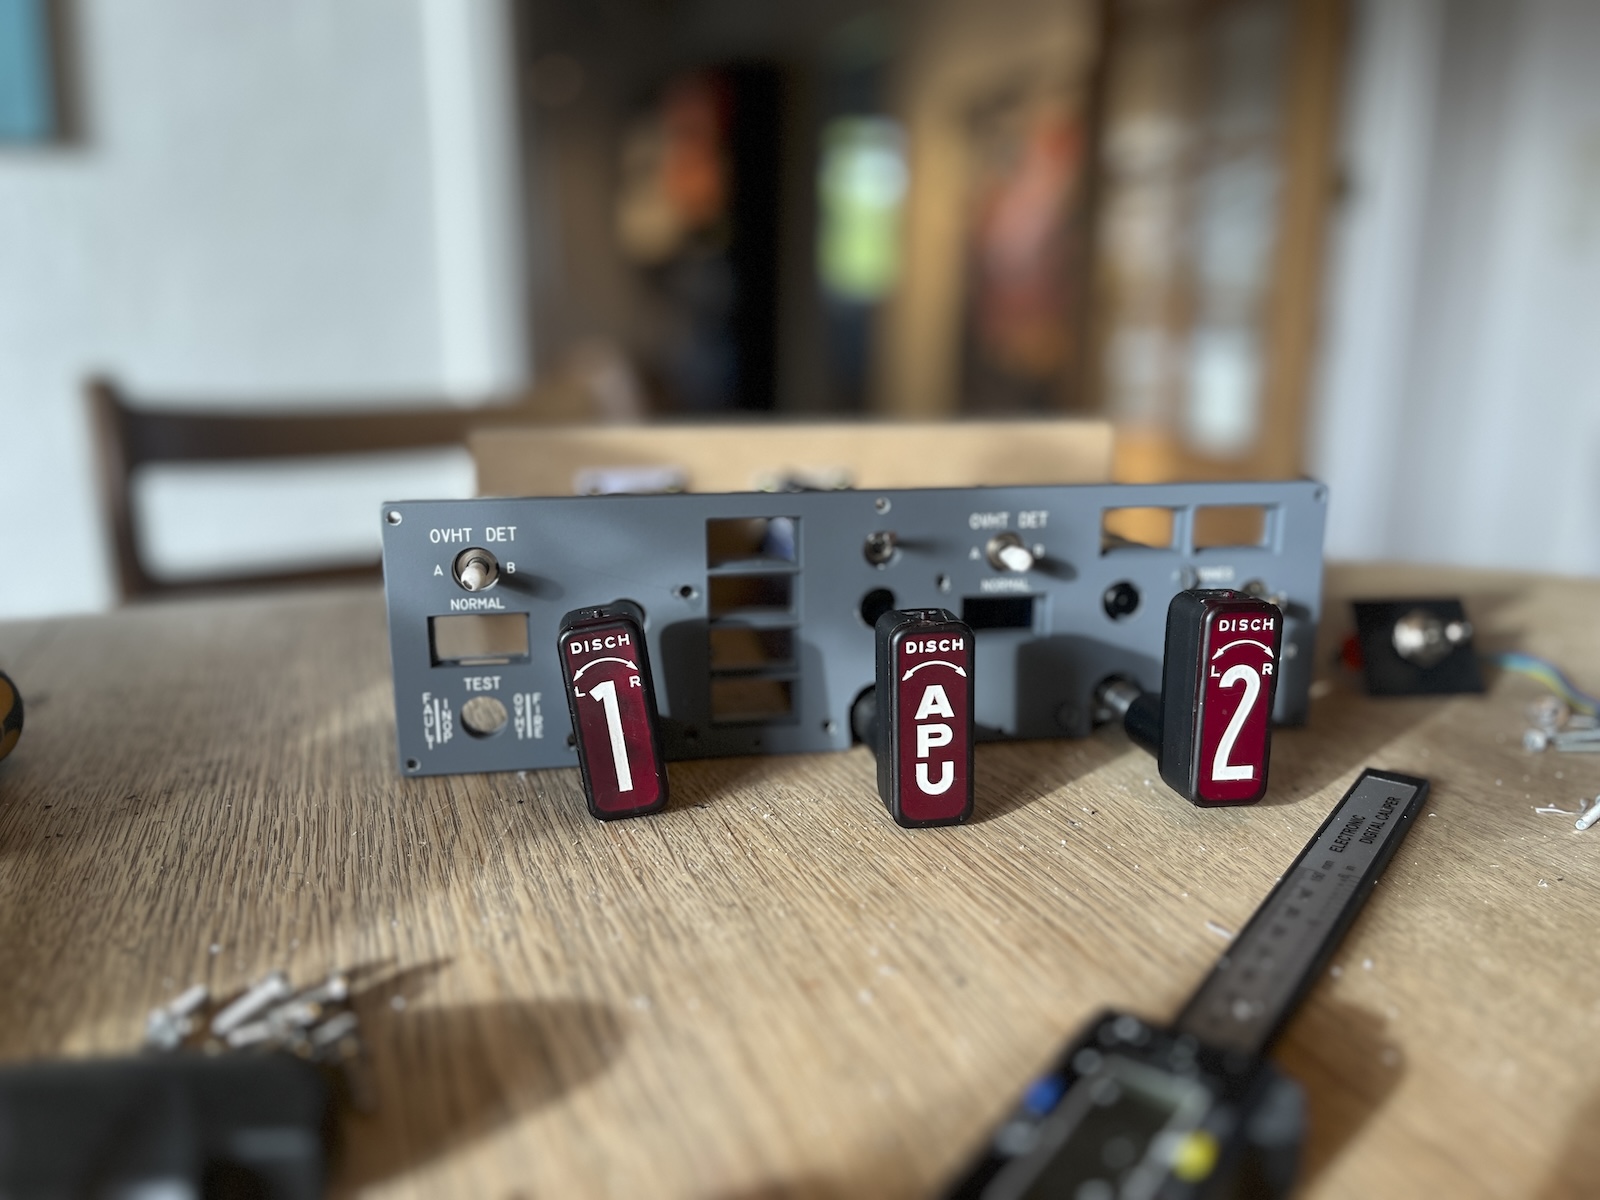
As I only have the handles I needed to buy a panel / faceplate from one of the well known vendors like OpenCockpit, CockpitSimparts, Hispapanel etc. The panel would require some modification to fit the OEM handles. A few things to be aware of was:
- The handles slide in to the panel. As it is a single unit that not can be taken apart the handle can not go through any hole. None of the panels had this.
- There needs to be a hole for the Solenoid-bypass button. Some panels had a fake black dot. Others had nothing
- No panels will match mounting holes on the OEM handles. So you need to drill holes no matter what.
Researching it turned out no panel would be a perfect match. So it came down to looks. What looked the best. Well… actually it came down to me being able to get my hands on the OpenCockpits panel for just €20. So OpenCockpits it was. Not the prettiest of the panels with the single payer panel and 3mm acrylic. But I would have to do. The good thing about the OpenCockpits panel is that apart from the 3mm white acrylic it also cones with 2 extra transparent 3mm acrylic for mounting switches (And a spacer) giving it a total of 9mm acrylic which adds to the stability of the panel.
Mounting the fire handles
Getting the firehandles to fit the panel required a lot of going back and forth to the 3D printer. It is a matter of getting all the mounting holes to fit. Both those is the face plate and aligning it with tha handles. I ended up make a prototype in Fusion360. Printed it. Tested it. And then back to Fusion360. I did this like 20-30 times. But finally I had a perfect fit between the holes in the faceplate and the required holds and cutouts for the firehandles.
Get the high speed drill going and bring out the multi cutter. Even though I tried to be very carefull I managed to crack the faceplate two places.
In case anyone are interested in the mock-ups I made they can be downloaded as a str-file below. But bare in mind it is made for the OpenCockpits panel.
Getting everything put together the panel and firehandles now looked like a complete unit. Ready to be wired and mounted in the cockpit. Still long way to go which I will cover in the next posting.
Downloads
Fire panel Left side – Right side